
A teapot that dribbles is a small heartbreak. You tilt, you wait, and the tea runs down the spout instead of into the cup. The fix is rarely in the body or the lid. It is in the spout. A clean pour is geometry you can plan, test, and repeat.
Before you cut clay, make a cardboard mock-up. Tape a paper spout to a jar. Fill it with water. The flaws show up in seconds, and you can change a template instead of rebuilding a pot.
The Pour Is a System, Not a Spout Alone
A good pour has three jobs: it starts without a gulp, flows in a steady stream, and stops without a drip. Four forces decide whether that happens: gravity, air returning into the body, surface tension at the tip, and friction inside the spout.
If air cannot get back in as tea leaves, the pot glugs. If the tip is too narrow, the stream breaks into drops. If the lip is thick or rounded upward, the last drop clings and runs down the outside. If the spout attaches too high, you cannot empty the pot without tipping it past comfort.
A spout is a funnel, a drain, and a brake. If any one of those jobs is neglected, the pour shows it.
Taper: Wide at the Base, Narrow at the Tip
The spout should taper smoothly from base to tip. No steps, no ridges, no sudden narrowing. A gentle cone keeps the flow attached to the walls and reduces turbulence. For a standard 700–900 ml teapot, a base inner diameter around 12–16 mm and a tip inner diameter around 6–8 mm is a useful starting point. For large-leaf tea, open the tip to 8–10 mm so leaves and water move freely.
A taper of about 2–4 degrees per side is usually enough. If the spout narrows too fast, the stream slows, backs up, and pulses. If it hardly narrows at all, the pour is hard to control and the pot feels clumsy.
Keep the wall thickness reasonable: thicker at the base for strength, thinner at the tip for a clean lip. Shine a light through the spout. You should see an even cone with no ledges inside. Any ledge catches leaves and breaks the flow.
Tip Shape: The Last Centimetre Decides
The tip is where most drips are born. Cut the opening at a slight downward angle so the back edge sits higher than the front. When you tilt the pot, tea should leave from the bottom edge of the opening, not the top. A round hole works, but a slightly oval or U-shaped opening can give a steadier stream.
Underneath the tip, add a small undercut or drip lip. This is a shallow notch that breaks the surface tension before the drop can wrap around the spout. Without it, the last teaspoon of tea clings to the underside and runs down the outside.
Avoid a thick, blunt lip. It looks sturdy, but it gives surface tension a place to hold on. A thin, rounded rim with a slight outward flare pours far more cleanly. Test the tip with water before you commit: if the stream wraps around the spout, adjust the undercut. If it sprays, the opening may be too narrow or the taper too abrupt.
Strainer Holes: Enough Area, Right Size
Strainer holes are a balance. Too small, and they clog, slow the flow, and create suction that makes the pot glug. Too large, and leaves escape into the spout, where they block the tip. For most teas, holes around 1.5–2.5 mm work well. For fine fannings, go smaller but add more holes. For large leaves, 2.5–3 mm is safer.
The total open area matters more than any single hole. Aim for at least the area of the spout tip, and ideally one and a half times that. If your tip opening is 8 mm across, its area is roughly 50 mm². A 2 mm hole has an area of about 3 mm², so you need at least 16 holes, and 24 is better. That gives the water room to move without dragging.
- Drill or punch from the outside toward the inside so burrs end up in the tea chamber, where you can smooth them.
- Space holes at least one hole diameter apart. Crowded holes weaken the wall and clog faster.
- Stagger rows instead of lining them up. A staggered pattern keeps more open area without thin bridges of clay.
- Deburr every hole. A smooth inner surface lets leaves slide away instead of catching.
- Test with dry tea and water before firing. If the flow slows after ten seconds, add holes or open them slightly.
Attachment Angle: Low, Gentle, and Smooth
Attach the spout in the lower third of the body. The centreline should rise at about 20–30 degrees from horizontal, with the tip sitting just above the rim. If the angle is too steep, tea shoots out and splashes. If it is too shallow, the stream dribbles down the spout.
The inner junction is just as important. Blend the spout into the body with a smooth, slightly funnel-shaped opening. A sharp lip inside the pot creates turbulence and traps the last of the tea. The base of the spout should also be the lowest point of the spout’s interior, so no liquid sits in a dip.
Length gives control, but adds friction. A spout about one and a half times the body height is a reasonable starting point. Fill the pot with water and tilt it slowly. The stream should begin at a low angle and stay steady as you pour. If you have to tip the pot almost upside down to empty it, the attachment is too high.
Cut-Out Templates and a Water Test
Templates turn guesswork into a repeatable process. Draw them full size on card stock, then cut and tape them to a jar. You will learn more from one water test than from an hour of staring at the clay.
- Draw a full-size side profile of the teapot body. Mark the lowest interior point and the water line.
- Draw the spout centreline from that low point, rising at 25 degrees.
- Mark the base inner diameter and tip inner diameter along the centreline. Connect them with a smooth taper.
- Cut out the spout profile, roll it into a cone, and tape it. Attach it to a jar with tape or clay.
- Fill the jar with water and pour. Watch where the stream leaves the tip and whether it drips when you stop.
- Adjust the tip angle, undercut, or hole size. Test again before you touch clay.
Template details that save time
For the tip, draw the opening as a circle or oval, then add a downward slant and a small notch underneath. For the strainer, draw a grid of holes and mark them with a pin. Keep every template in a notebook with notes on tea type, clay shrinkage, and pour behaviour.
Glaze, Firing, and Final Tuning
Clay shrinks. Holes and tip openings get smaller in the kiln, so make them slightly larger than your final target. Keep glaze off the tip lip and out of the spout interior. A thick glaze bead can undo a carefully shaped lip in one firing.
Test the fired pot with water. If it dribbles, check for burrs inside the spout, a high attachment point, or a lip that has become too rounded. An unglazed tip can sometimes be refined with a diamond file. A glazed tip cannot, which is why the cardboard mock-up matters so much.
A Pour You Can Trust
A clean pour is designed, not discovered. Taper the spout smoothly, shape the tip with a drip lip, give the strainer enough open area, and attach the spout low at a gentle angle. Make a template, tape it to a jar, and test with water. Then commit to clay. A teapot that pours cleanly invites a second cup, and a second pot.
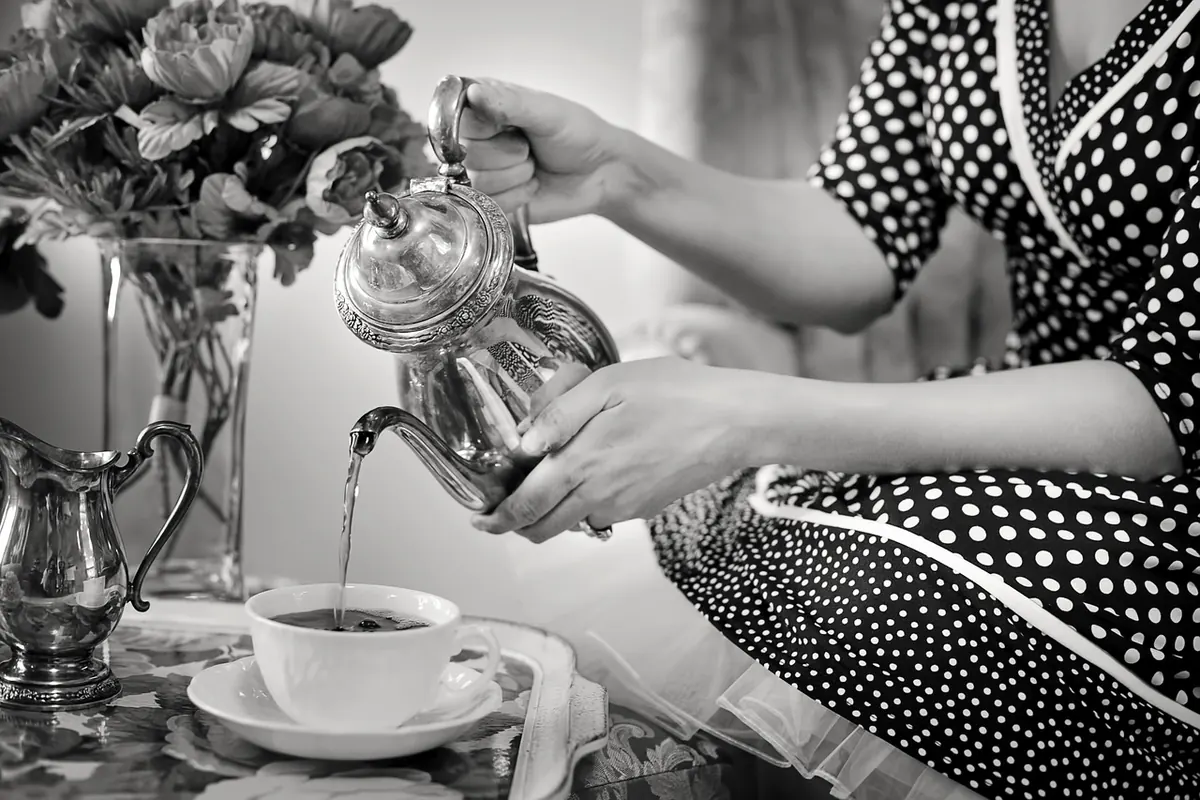
Photo: JillWellington / Pixabay